Investigating Behaviour Trees with Groot
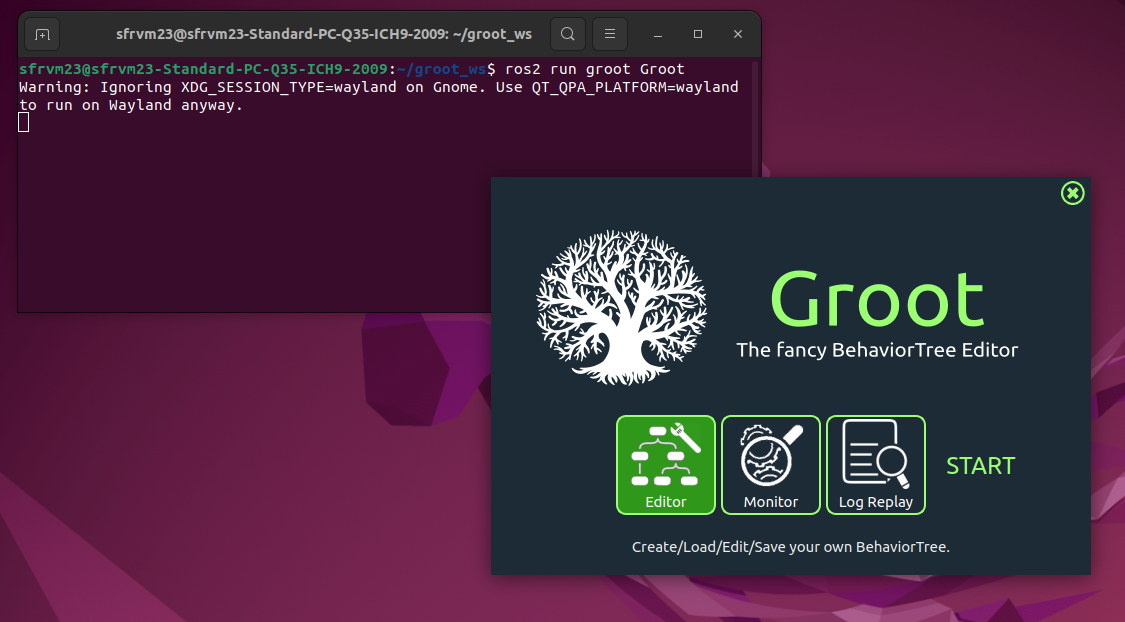
Ensuring you have sourced the workspace where the groot package has been compiled, in a terminal session run the following:
ros2 run groot Groot
This should launch a GUI session. Select Editor followed by START, bringing up a window similar to the picture below.
Inspect Existing Behaviour Trees
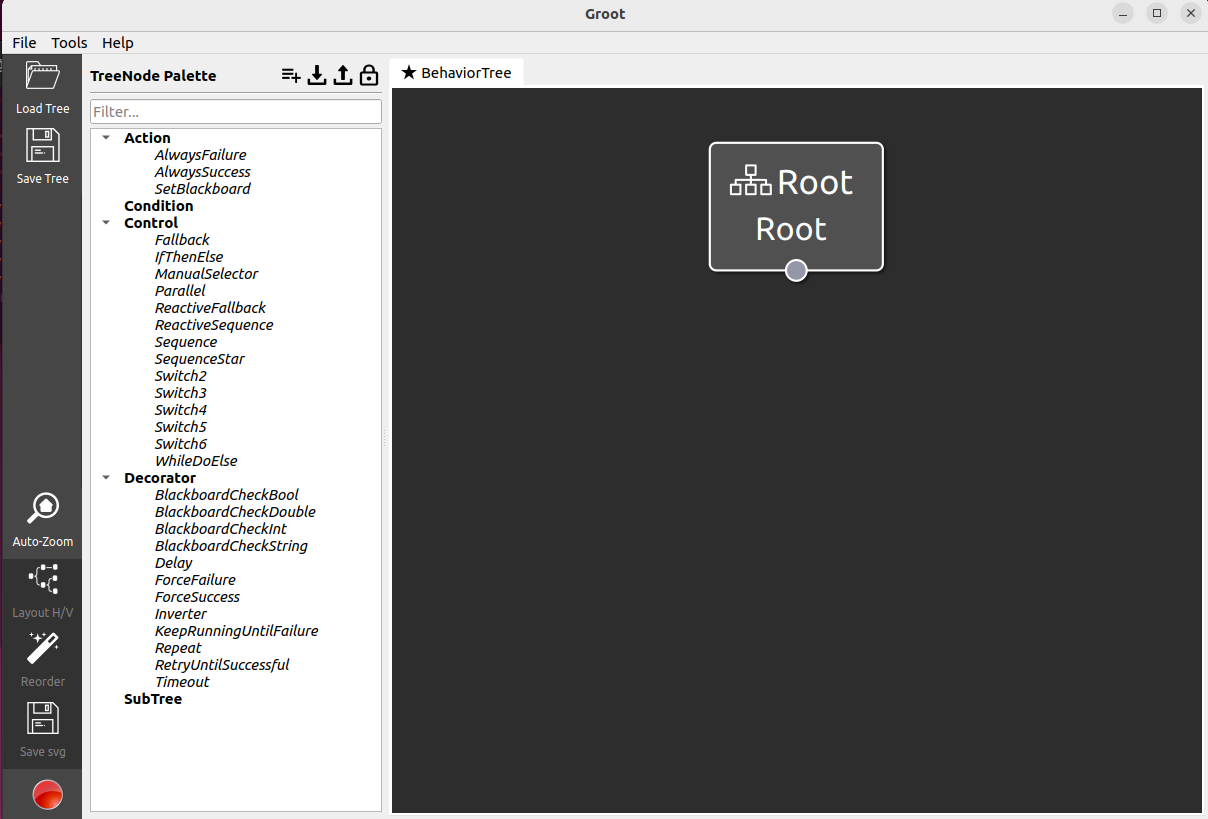
The navigation stack already has a bunch of behaviour trees we can begin to unpick. Let us use Groot to help visualise how they are constructed.
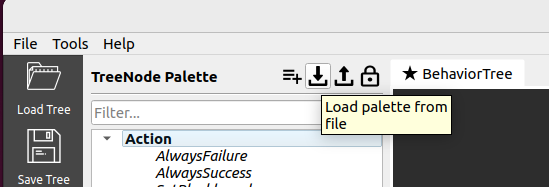
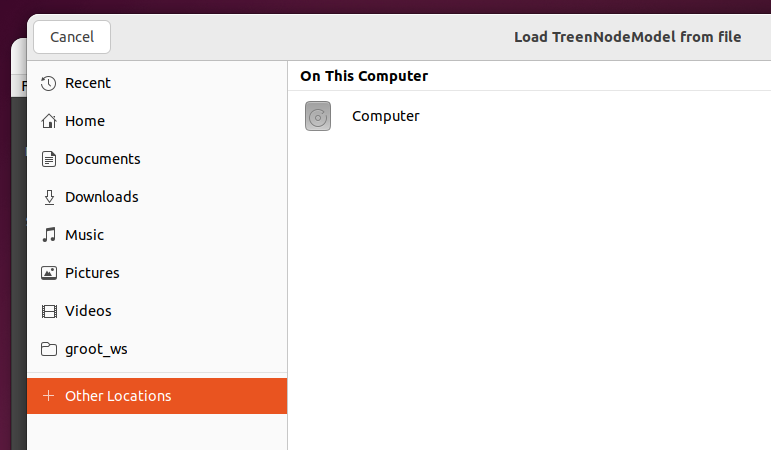
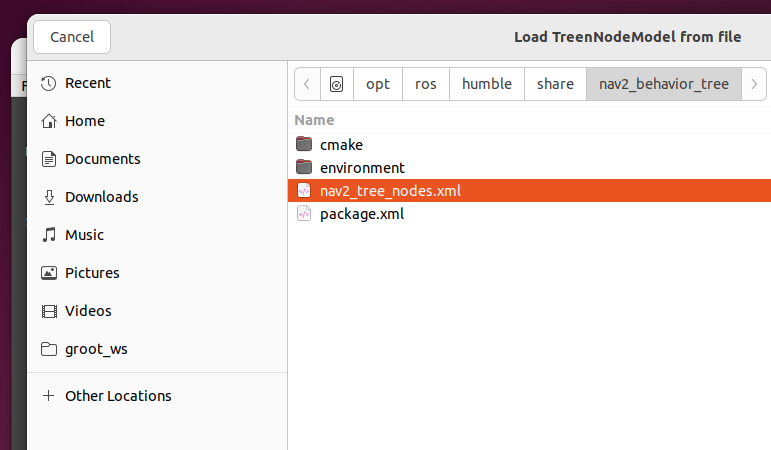
Firstly, Groot does not know about the Nav2 nodes (Action, Condition, Control, Decorator). If it can not understand these nodes, then it will fail to read in a .xml file. Load the existing Nav2 palette from the nav2_behavior_tree package found in /opt/ros/humble/share/nav2_behavior_tree/nav2_tree_nodes.xml, the figures below document the steps.
Example Behaviour Tree 0
Download the first example behaviour tree bt_example_0.xml, which is a copy of the nav2_bt_navigator odometry_calibration.xml.
Within the Groot GUI, select “Load Tree” from the upper left side. When Groot asks you “Clear Palette?”, select “No”, we wish to keep all the definitions of nodes from Nav2 we just loaded.
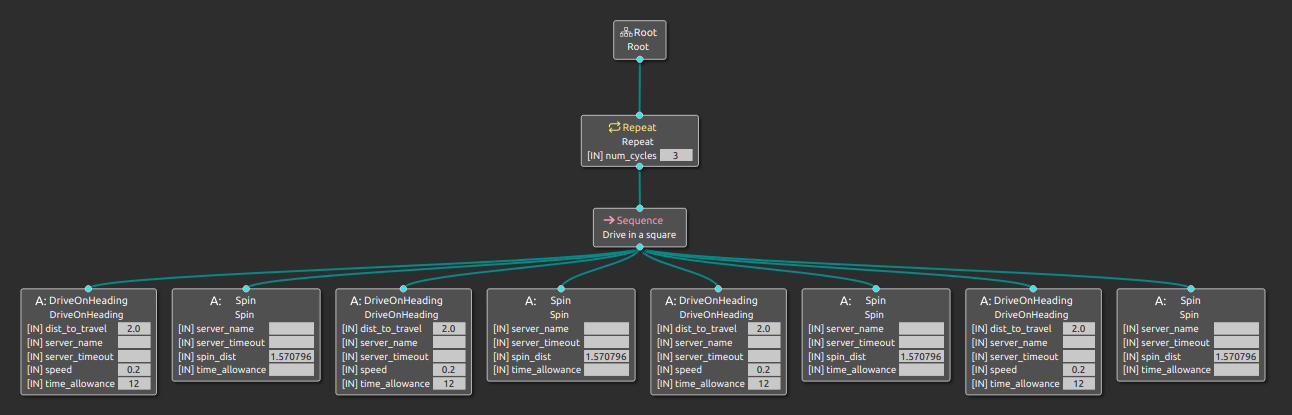
This behaviour tree consists of a simple Sequence control node, which simply drives forward 2.0 m, performs a positive quarter turn and repeats this a total of four times to hopefully have the robot finish where it started. However, the Sequence control node is itself a child of the Repeat decorator node, therefore, the entire sequence attempts to repeat three times. This example is really on the border of what could be hardcoded in a normal ROS node (with a Twist publisher), but is a super simple example to show what the system will do.
By inspecting the .xml file, with the visual description as a reference, it is possible to understand how the .xml files are structured.
 1<!--
 2  his Behavior Tree drives in a square for odometry calibration experiments
 3-->
 4
 5<root main_tree_to_execute="MainTree">
 6  <BehaviorTree ID="MainTree">
 7    <Repeat num_cycles="3">
 8      <Sequence name="Drive in a square">
 9        <DriveOnHeading dist_to_travel="2.0" speed="0.2" time_allowance="12"/>
10        <Spin spin_dist="1.570796" is_recovery="false"/>
11        <DriveOnHeading dist_to_travel="2.0" speed="0.2" time_allowance="12"/>
12        <Spin spin_dist="1.570796" is_recovery="false"/>
13        <DriveOnHeading dist_to_travel="2.0" speed="0.2" time_allowance="12"/>
14        <Spin spin_dist="1.570796" is_recovery="false"/>
15        <DriveOnHeading dist_to_travel="2.0" speed="0.2" time_allowance="12"/>
16        <Spin spin_dist="1.570796" is_recovery="false"/>
17      </Sequence>
18    </Repeat>
19  </BehaviorTree>
20</root>
Inside the sequence open and closing tags, are the four sets of DriveOnHeading followed by Spin. The Sequence tags (called “Drive in a square”) are inside the opening <Repeat> and closing </Repeat> tags. Not impossible to read, but perhaps more difficult to grasp compared to a visual representation.
Example Behaviour Tree 1
Download the behaviour tree bt_example_1.xml, which is a copy of the nav2_bt_navigator navigate_to_pose_w_replanning_and_recovery.xml.
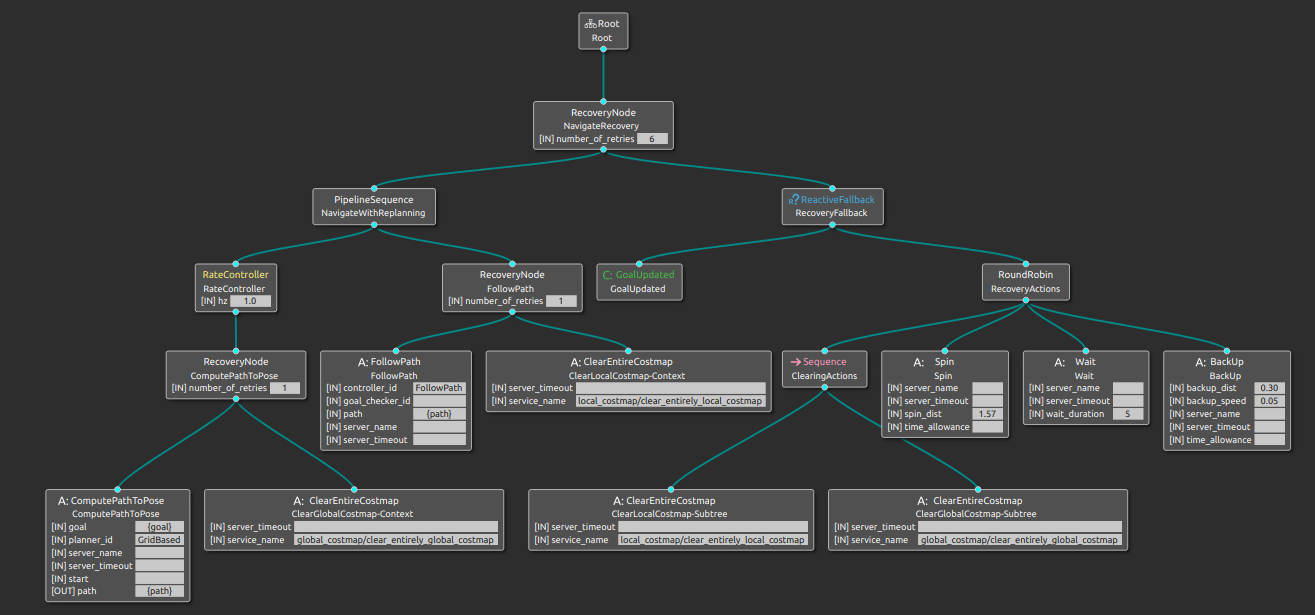
As you can see, already this behaviour tree is getting pretty complicated. The remainder of this tutorial will be building a similar behaviour tree from the ground up, hopefully getting a feeling of how behaviour trees grow as we add more complexity.